
Mastering advanced photography techniques is important for a candidate looking to enhance their skills and create breadth-taking, professional images. Photography tips that concentrate on these advanced methods can assist you take stunning images, improve your creative touch, and enhance your overall method.
In this article, you will learn about how to be a photographer through various photography techniques and explore different types of photography techniques that can positively change your image. Mastering these techniques will take your skills as a photographer to the next level, whether you’re interested in portrait, landscape, or macro photography.
Table of Contents:
- Understanding Exposure Settings
- Mastering Composition Beyond Basics
- The Art of Lighting
- Advanced Focus Techniques
- Using Advanced Gear
- Editing for Professional Results
- Conclusion
Understanding Exposure Settings
Manipulating ISO, aperture, and shutter speed is important for clicking high-quality images. ISO controls light sensitivity; a wider aperture blurs the backdrop, whilst a smaller aperture maintains more focus. Shutter speed influences exposure time; greater rates freeze action, while slower speeds produce motion blur for a dynamic impression.
To strike the ideal balance in various lighting circumstances, use a low ISO (100-200) in bright daylight, a narrow aperture for depth, and a quick shutter speed to prevent overexposure. In low light, boost the ISO, widen the aperture, and carefully slow down the shutter speed to avoid motion blur. Adjust these settings based on your scene to get the best results.
Mastering Composition Beyond Basics
Composition is essential for capturing beautiful images, and understanding basic laws like the Rule of Thirds and the Golden Ratio will help you improve. The Rule of Thirds involves splitting your image into a 3×3 grid and positioning your subject where the lines cross. This makes your photographs appear more balanced. The Golden Ratio enables you to position crucial pieces in a visually appealing manner. While these guidelines are useful, breaking them can result in unique and interesting photographs.
Aside from these guidelines, adopting framing can help your topic stand out by surrounding it with objects such as trees or gateways. Leading lines direct the viewer’s attention throughout the image, giving interest and depth. Using depth by integrating elements in the foreground, middle, and background can help your photographs feel more three-dimensional. By experimenting with these techniques, you can discover your own style and elevate your photography to the next level.
The Art of Lighting
One of the most crucial parts of photography is lighting. Sunlight is one of the very important lights that changes as the day goes on. The light during sunrise or sunset is soft making it great for capturing pictures as it gives warm, gentle tones. In strong sunlight, it is good to use a reflector or look for a shade to prevent shadows on your subject.
AI lighting involves things like studio lights or lamps. In low light situations, using artificial light or changing your camera settings can enhance your picture. Knowing how to use light well will make your photos look more professional and appealing.
Advanced Focus Techniques
The key to achieving sharp, clear photos is mastering focus. Depth of field means how much of your picture is in focus. A deep breadth of field lets everything be in focus which is best for landscapes. A shallow depth of field is best for portraits, as it blurs the surroundings and makes the subject stand out.
Focus stacking is a method that involves merging many photographs with different focus points to produce even sharper images. This is especially handy for close-ups and macro photography.
Manual focus enables greater precision, especially in low contrast or challenging lighting situations. To get the best results, zoom in on your subject through your camera’s viewfinder or screen, carefully adjust your focus, and ensure it is crystal clear before taking the image.
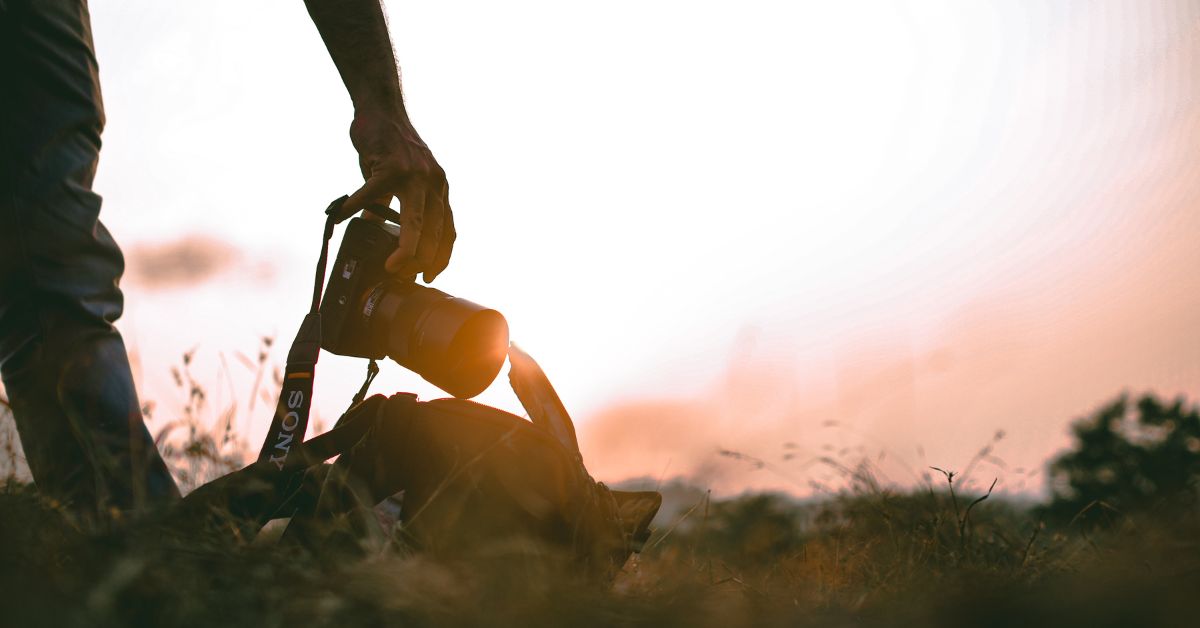
Using Advanced Gear
Here’s a detailed look at how specialized equipment can elevate your photography:
- Wide-Angle Lenses: Wide-Angle Lenses: These lenses have a wider field of view than standard lenses, making them the best for capturing large landscapes, urban environments, and architecture. They enable you to fit additional items in the frame, which adds depth and size. Wide-angle lenses are particularly great for close up photography in tight spaces because they enable you to capture more additional background details, letting the subject stand out more clearly.
- Filters: Filters can greatly enhance the quality of your photographs. A polarizing filter is helpful for minimizing glare from reflective surfaces like glass or water, improving the color of the sky, and increasing overall sharpness. This gives richer, more colorful visuals. Neutral Density (ND) filters restrict some light from reaching the lens, therefore being helpful for long-exposure photography under bright conditions. They help you to produce motion blur effects, such as smooth, flowing water or streaky clouds, even during the day.
- Tripods: A tripod helps your camera to be stable, which is important for sharp and clear pictures, especially in less light settings or when shooting at lower shutter speed. Tripods also enable you to experiment with long exposure, like photographing light trails at night or smoothing out ocean waves. They are especially crucial for precise composition and for employing heavy equipment, like telephoto lenses, which can be challenging to maintain stability.
Each of these equipment can help you take your photography to another level by providing you with more creative options and increased control over your shots.
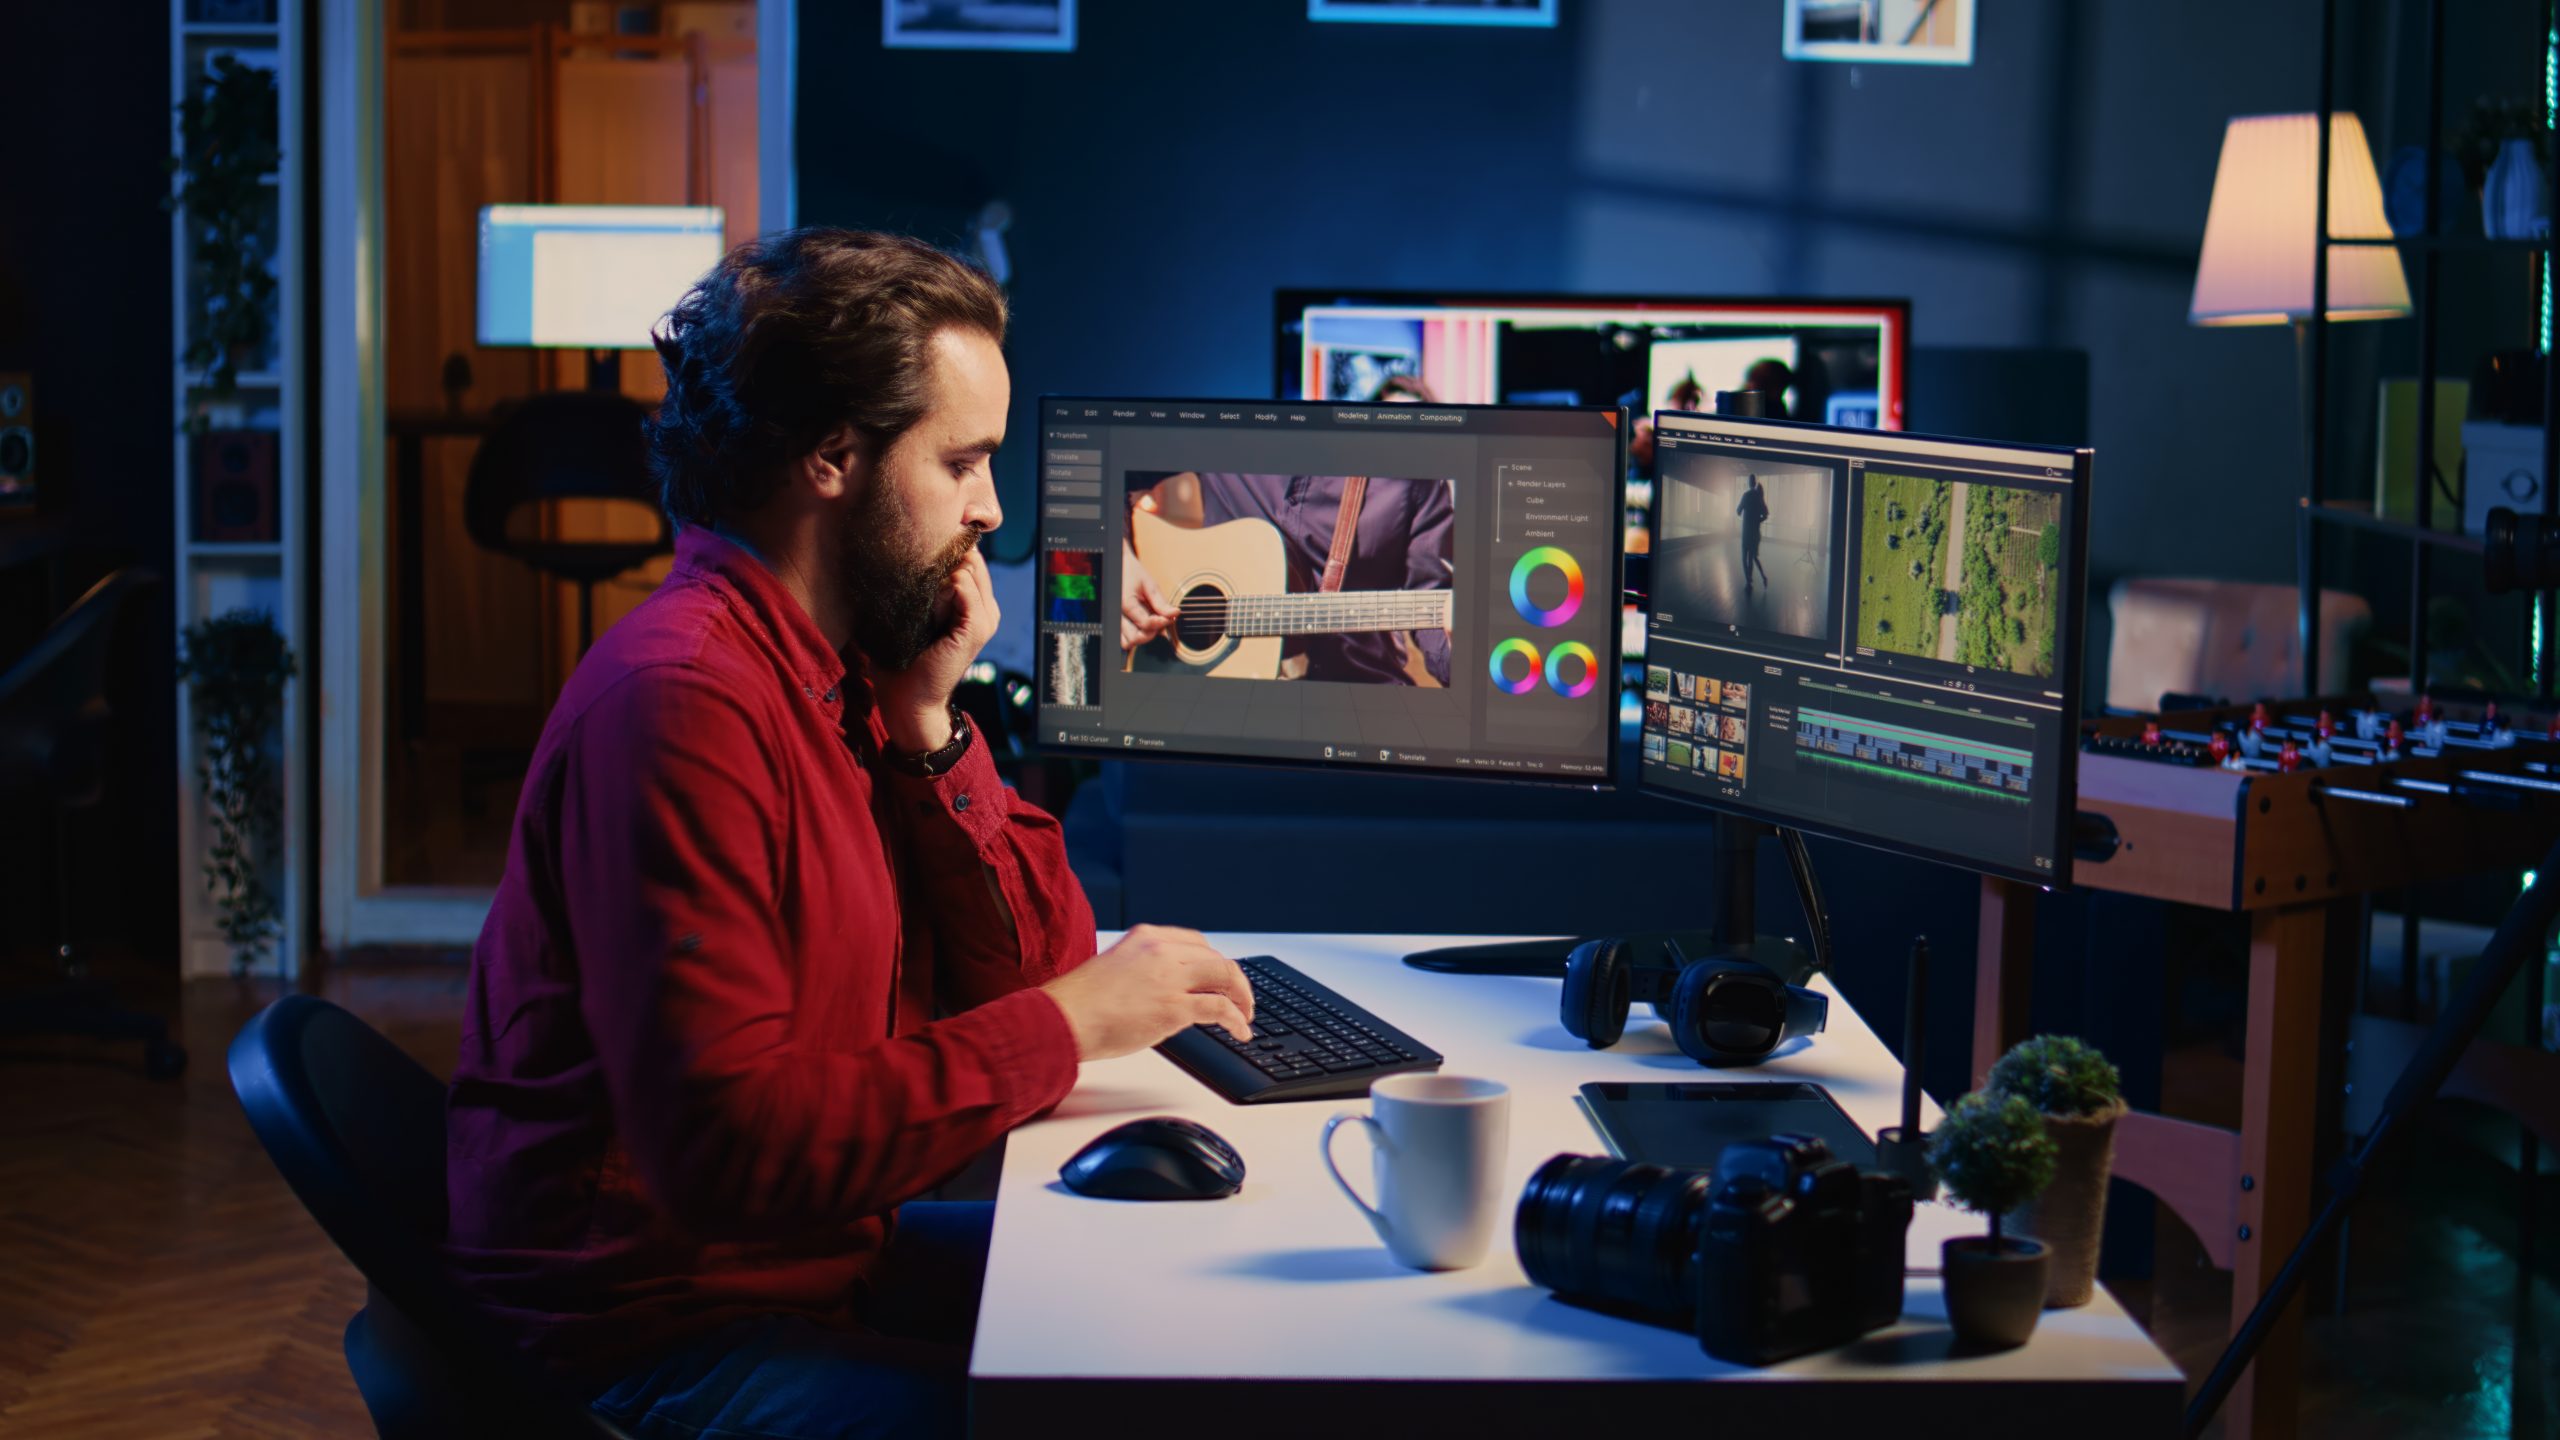
Editing for Professional Results
Editing for Professional Results is about enhancing your photos to make them look polished and visually appealing, like the work of a professional photographer. Here’s a detailed breakdown of what it involves:
- Cropping and Framing: With the help of cropping, you can cut out unnecessary elements and focus on the subject of the photo. It enhances composition and can change a good shot into a great one by concentrating on the important art of the picture.
- Adjusting Brightness and Contrast: By adjusting brightness, you can make sure that the image is neither too black nor too bright. Contrast changes improve the shot by deepening shadows and brightening highlights, adding more depth to it.
- Color Correction: This step involves correcting any color imbalances in your image. It assures that colors are true to life, particularly in portraits or natural pictures where exact skin tones or greenery make a significant impact.
- Sharpening and Clarity: Sharpening enhances the overall quality of the image, making crispier edges or details clearer. This is particularly crucial for professional photographers because minor imperfections can have a big impact.
- Removing Imperfections: Professional editing usually involves removing imperfections or distractions. This could vary from a speck of dust on a lens to unwanted objects in the surroundings or smoothing out skin in pictures to get a better and clearer look.
- Adding Filters or Effects: While subtle, adding filters or effects can enhance the look of your photograph. They can help unite photo series with a consistent style or add emotion to a single shot, such as a vintage or cinematic effect.
- Balancing Exposure: Adjusting the exposure makes sure that all areas of your image are clear and well-lit. It’s about achieving the right balance between dark and light areas while retaining vital features.
- Retouching: In portraits or product photography, editing entails finer details such as enhancing eye color, lightening teeth, or cleaning up pictures of products to make certain they appear perfect.
- Working with Layers: Advanced editing technique tools, like Photoshop, enable you to work with layers, providing you better control. This allows you to make adjustments to specific parts of the photo without changing the overall look of the image.
Conclusion
Mastering advanced photography techniques is a continuous journey. By experimenting with new photography tips, learning different techniques in photography, and refining your photography skills, you can consistently improve the quality and creativity of your shots. Whether it’s understanding exposure, composition, lighting, or using specialized gear, each step you take will elevate your work.
If you want to dive deeper into professional photography, consider AAFT Online’s Comprehensive Photography Program. It offers expert guidance to help you master the art and science of photography, pushing your skills to new heights! Keep exploring and growing as a photographer.


(Visited 883 times, 1 visits today)
Popular Search
Top 10 DJ India
Makeup Steps
Advantages of Makeup
Interior Designer Salary
Makeup Artist Course
Benefits Of Photography
Hospital Waste Management
Types of Fashion Designing
Types of Lenses in Photography
How to Become a Radio Jockey
Best Nutrition Courses in India
Importance of Media Management
How To Become a Dietitian in India
Importance of Nutrition in Health
Interior Design History and Origins
Top 10 Famous Interior Designers
Top 10 Music Labels in India
Top 10 Best Animation Studios in India
Top 10 Nutraceutical Companies in India
Top 10 Fashion Designers in the World
How To Write a TV Commercial Script
Top 10 Career Opportunities in Fashion Designing
Advantages and Disadvantages of Animation


[…] of people look for pro camera apps for iPhone that let them control the camera manually and have advanced photography features. Most of the time, these apps let you change the focus, control the exposure, and set the white […]